Berlin:Firmware:En:Howto:Assistant
Freifunk Assistant
You have, in the previos step at Wizard zur IP-Vergabe IPs requested and your router successfully flashed. Now you can use the Freifunk-Assistant to configure your router.
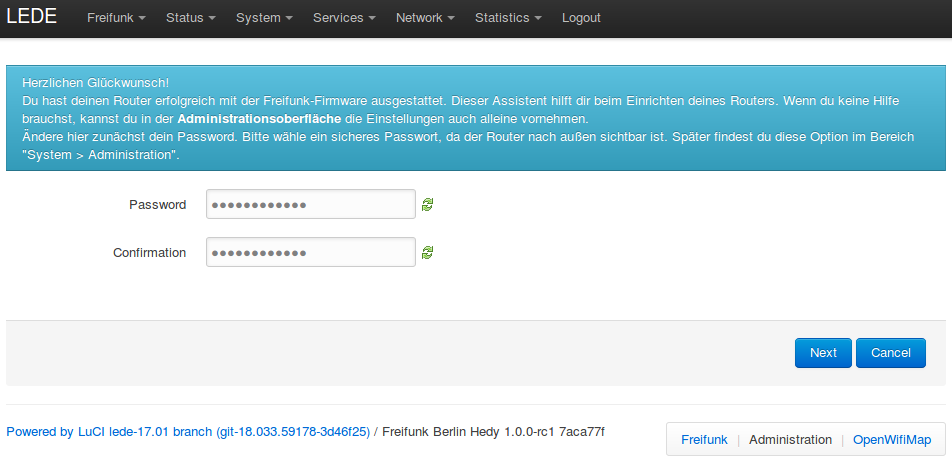
Set a Password
Go to the website of the router at http://frei.funk or http://192.168.42.1/ and set a new password.
Click "Next"
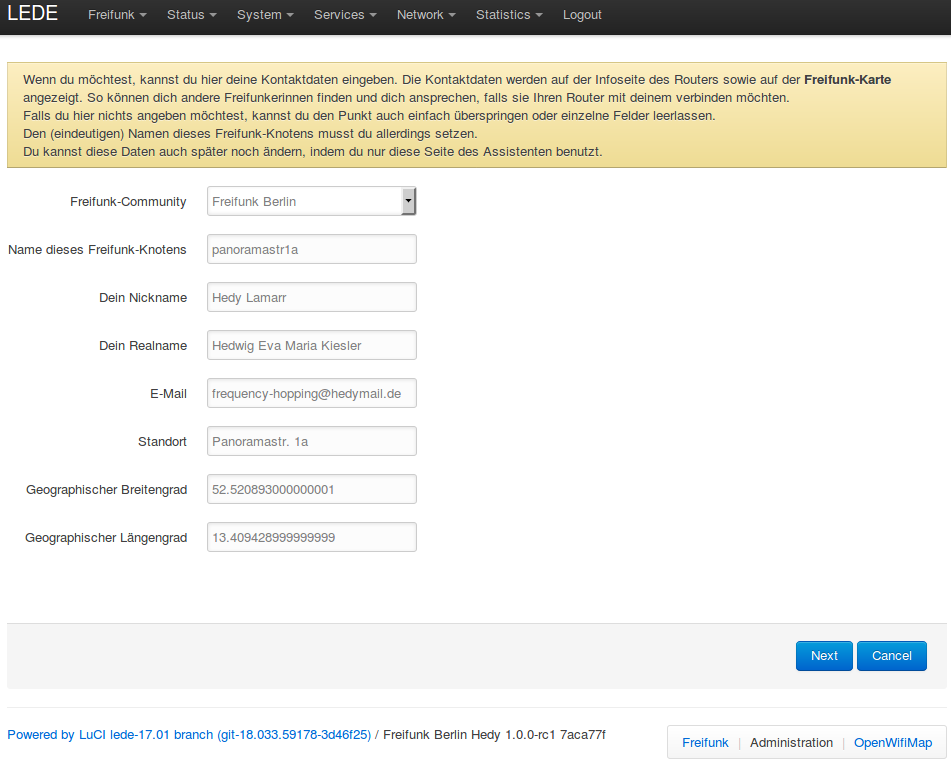
Contact Data
Now you are presented with the Contact page, where you can enter your contact data. When you decide to enter real conact data, it is then possible for other Freifunkers to contact you when they want to connect their router to yours.
Click "Next"
Joining Freifunk and Sharing Internet
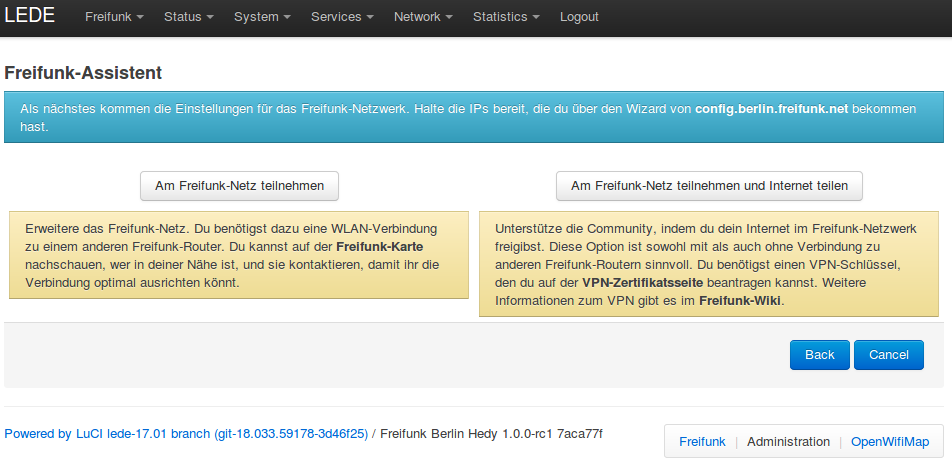
On this page, you need to decide how you want to participate on the Freifunk-Network:
- Am Freifunk-Netz teilnehmen
In case you want to expand the Freifunk-Network, without sharing your Internet connection, another Freifunk router must be near by so that the routers can connect to each other (this is called "meshing"). On our Map, you will find many Berlin Freifunk routers. You can also contact other Freifunkers to set up an optimal connection.
- Am Freifunk-Netz teilnehmen und Internet teilen
In case you - in addition to expanding the Freifunk-Network - would like to share your Internet connection, click on the button "Am Freifunk-Netz teilnahmen und Internet teilen".
(In case you do not want to share your Internet, skip the next step)
Click on one of the options.
Configure the Uplink and Bandwidth
The following configuration page is dependant on the type of image installed (see Image Types).
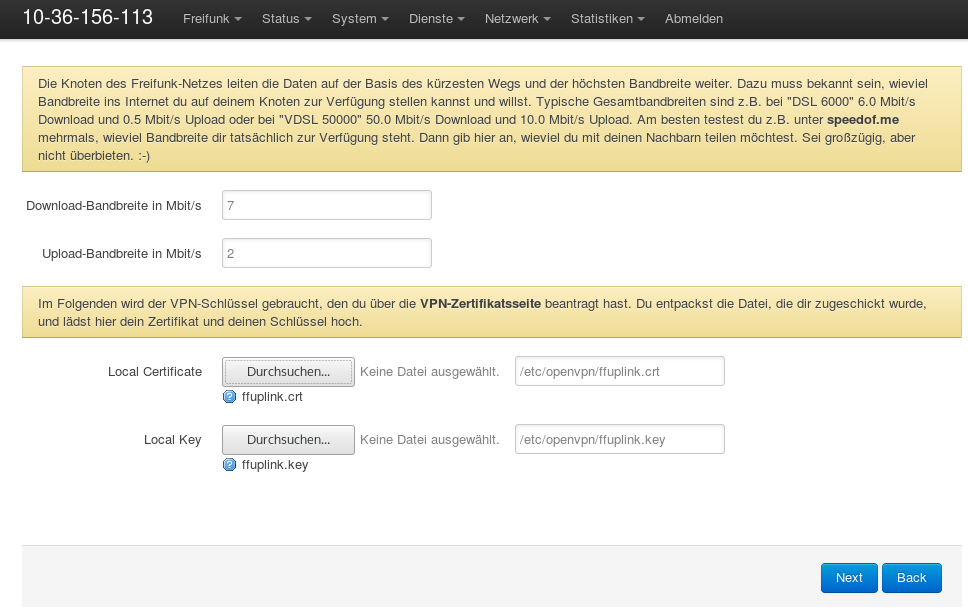
In the top section you can limit the amount of bandwith you are willing to share.
Depending on the chosen uplink type, there are further options to fill out. When you share your Internet via a tunnel, then this is the place where you upload the connection data. Open up the TAR-archive which you have received on your computer. Within are a few files, two of which are important. Load the following:
- your-vpn-tunnelname.crt (the X.509 Certificate)
- your-vpn-tunnelname.key (the associated Key)
Click "Next"
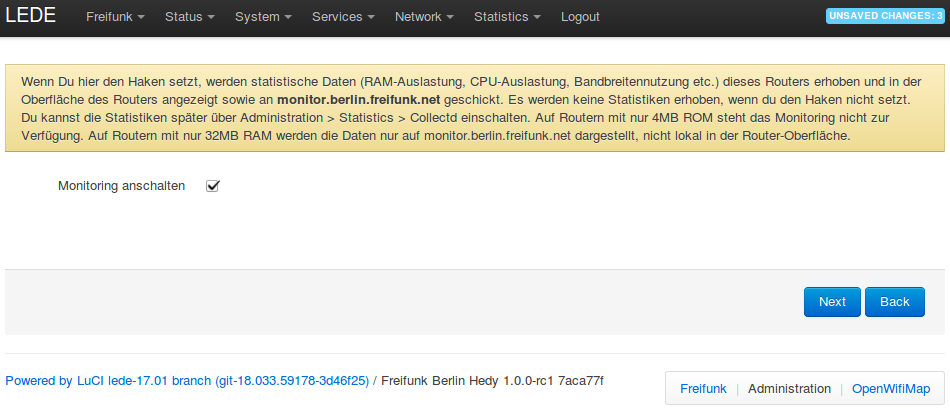
Turn on the Monitor
Here you can turn on the centralized Monitor service.
Click "Next"
Configure the Router
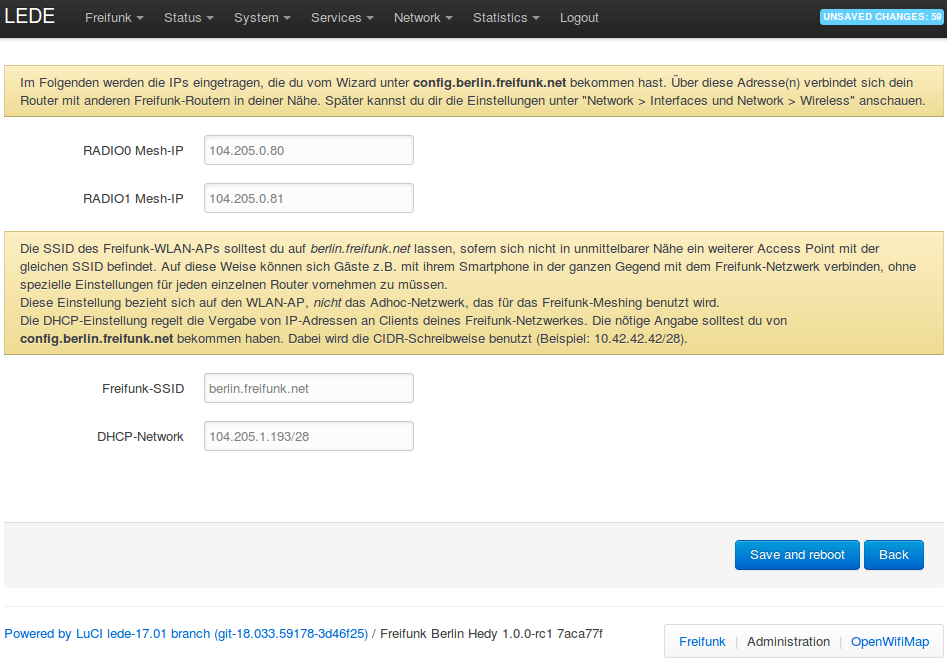
This is where you configure the IP addresses for your router, which you received from the Wizard zur IP-Vergabe.
- RADIO Mesh-IP
Depending on how many frequences your router can transmit on, you can configure either one or two IP addresses used for Meshing. With these addresses you router can connect with other Freifunk routers and expand the network.
- Freifunk-SSID
The SSID is the name your Freifunk router offers for clients (computers/smart phones) to connect to.
- DHCP-Network
This is the range of addresses availabe for clients, which they receive automatically when then connected to your Freifunk router.
When you now click on "Save and Reboot", you have successfully configured your router!
Drink a Coffee or Tea
When earlier you selected "Internet teilen", you now need to connect the Freifunk router's blue port ("WAN / "Internet") to your Router. Now you are Freifunking! :D
Connect to your Router
Your router is now reachable directly per (W)LAN connected computers via http://frei.funk/.
If you have any question of problem, it is recommended to take a look at Frequently Asked Questions in the Freifunk-Wiki.
